Tuesday 31 October 2017

Nintex Menu not showing in Site Actions SharePoint


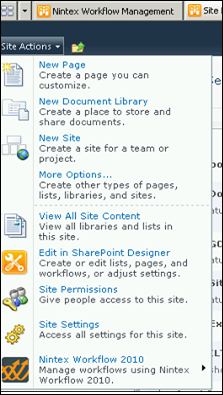
We found Nintex Menu not showing in the Site Actions SharePoint, After Nintex features activated on the same site. We have deactivated and reactivated the site collection feature and site features and still, nothing was happening. This issue exists for entire web Application
There is a workaround for this issue, we need to add safe control in web config file for respective web Application. We need to add the same in all web front end servers.
If we are searching on the internet, Nintex will suggest us to re-install or update the Nintex solution file.
Below are the simple steps to fix this issue in a minute:
  • Login to the server, open web config file for issued Web Application, make sure you have backup the existing Web config file.
  • Once web config file Search for Safe control (There will many searches for this keyword) just pull the page at end and get as per below screen shot:

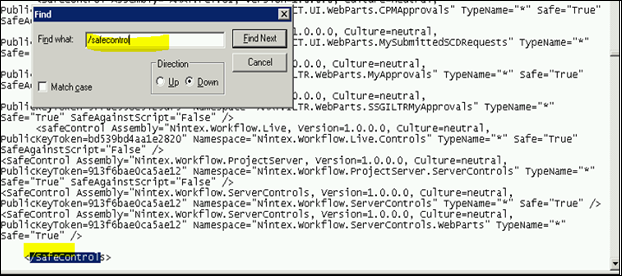
  • Before closing tag, add below safe control and save this config file.
<SafeControl Assembly="Nintex.Workflow.ProjectServer, Version=1.0.0.0, Culture=neutral, PublicKeyToken=913f6bae0ca5ae12" Namespace="Nintex.Workflow.ProjectServer.ServerControls" TypeName="*"Safe="True" SafeAgainstScript="False" />
<SafeControl Assembly="Nintex.Workflow.ServerControls, Version=1.0.0.0, Culture=neutral, PublicKeyToken=913f6bae0ca5ae12" Namespace="Nintex.Workflow.ServerControls" TypeName="*" Safe="True" />
<SafeControl Assembly="Nintex.Workflow.ServerControls, Version=1.0.0.0, Culture=neutral, PublicKeyToken=913f6bae0ca5ae12" Namespace="Nintex.Workflow.ServerControls.WebParts" TypeName="*"Safe="True" />

  • Do the same for another server, App recycle may be required after this entry in the config file.
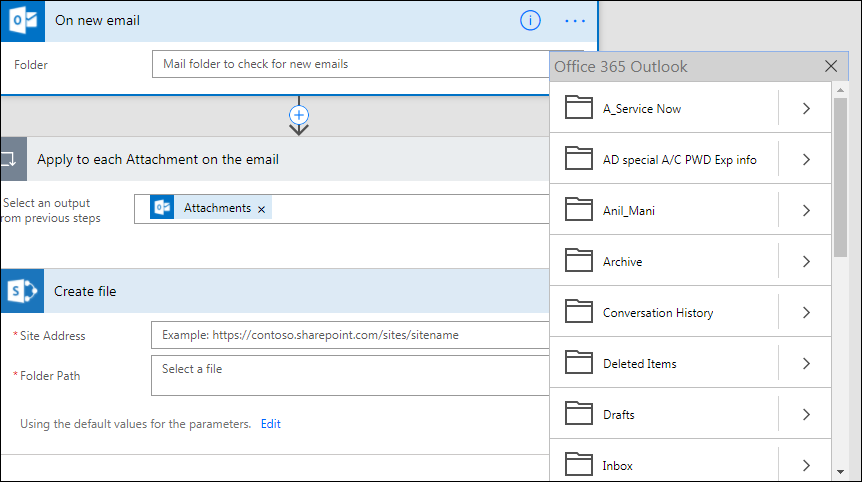
  • We can our result output like this

How Save my email attachments to a SharePoint document library using MS Flow

Prerequisites


  • You should have Ms flow Subscription assign to your Account
  • User Must have SharePoint Site access and Docs library should be created

Step by step Solution with screenshots

  • First log in, using your business account.
  • Click the “flow” option, shown on top of the page, as shown below.
  • Scroll down the page and select SharePoint on given option under popular services.

  • Once selected the above option it will take us to SharePoint Flow action, will be able to see the flow templates from Microsoft.
  • Here can search for template by clicking on search option or can select template by scrolling down. 
  • Select “Save my email attachment to a SharePoint document library” template.
  • Next, screen will be shown, as shown below and click Use this template.

  • Click on continue option.
  • On the next page, we will be getting option to configure Ms flow to get email attachment move to Site Library.


  • First, we need to change name and assign according to our convenience.
  • Next, click on On New Email option and select folder from where you want to copy the email attachment.


  • Once folder selected, next option is to Apply to each attachment on the email.
  • Here select an out from previous steps, by default attachment will be selected.
  • On the create file option, site address should be your Office 365 SharePoint site.
  • Select folder path, and select the Library which you have created or you can select default shared folder.
  • File name and File content, we can keep default.


  • Now click on Create Flow, you will get message that your flow was created to exit, click done.


  • Now, your flow is ready to test. Please send a test mail to your Email with an attachment. It will create a file in SharePoint site ->SiteAssests library.
  • Once any one sent email with attachment, MS flow will get trigger automatically and save your email attachment to defined Library.


  • Above will be job history one you will get email and Flow will get trigger.